What is screen-printing?
What is screen printing?
Screen-printing is a technique that uses a light sensitive mesh screen and a film to transfer ink onto a material. This method is one of the most versatile printing methods because it can be used on any surface.
How does it work?
Step 1) Every screen-printing job begins with a design. The artwork can be made by creating a vector based drawing. Programs like Adobe Illustrator create clean lines that can be stretched to any size without pixelization.
Step 2) The artwork is transformed into a film. This means that the art is turned into a black and white design before being applied to the screen.
Step 3) The film is transferred to the mesh screen. The is coated in an emulsion and exposed to light in order to transfer it to the screen. The black area (the design) blocks the light while the transparent (white) allows light to pass through and expose the film to UV rays. Once the emulsion is exposed to the UV light, it hardens.
Step 4) The screen is washed, removing emulsion from the areas that was covered by the film, there by allowing ink to pass into any surface.
Step 5) The screen is then flooded with ink and a squeegee is used to press the ink through the design into the surface of a material.
How many colors can I use?
Currently, our press is set up to handle the maximum of two colors. This keeps the cost as economically friendly as possible and enables us to get your products to you in a timely fashion.
A one color design will look just as professional as a full color one without the hefty price tag and long wait. Because screen-printing is basically using a stencil to create the design, each color used requires its own film and has to be applied one at a time.
What should I do to get my full color logo into an acceptable format for screen printing?
We have a team of designers that will be happy to take any high resolution image and get it ready for screen-printing. This means that any full color image you have will be converted into a one color line art.
If the only image you have is low quality, we will do our best to keep it as close to the original as we can. The final product will still look good but it is always best to send high resolution images.
I have an image I would like to convert into line art myself, how should I do this?
There are many ways to convert an image into a vector drawing but below is one simple way to do it using Photoshop. I chose Photoshop because I am going to take an existing photo and get it ready for print.
First, I found a free clip art of a cat. This is a high resolution image so it is easy to work with and I will be able to cut away parts of the photograph to turn the cat into simple line art.
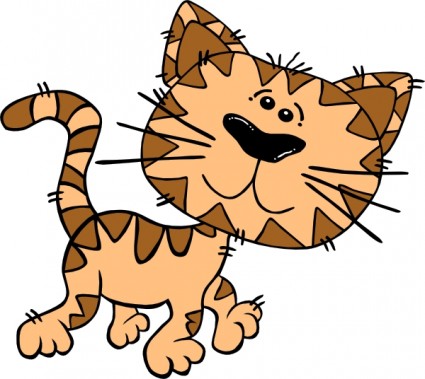
So that I could preserve the quality of the image, I opened a new file and set the resolution to 300 DPI. I placed the cat into my new file by going to File-Place.
Step 1: Remove the background
The first thing you want to do is remove the white background. You can do this by pressing “W” on the keyboard to select your wand tool. Click on the white background then hit “ctrl+x”. Your artwork should now have a transparent background.
Step 2: Design your stencil
Basically we need to decide what areas we want to be inked and what areas we want the material to show through. If we were to leave it like it is, a solid black silhouette would be printed onto our 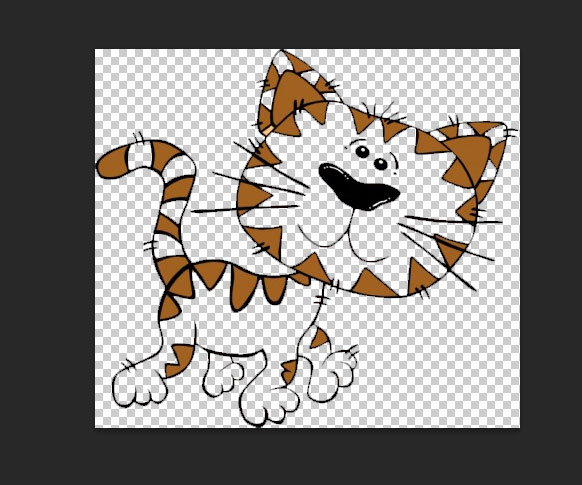 material.
I think the best outcome for our cat would be to leave the markings, nose, eyes and whiskers, and cut everything else away.
On this image, because it is high quality and already a simple drawing, you can use the wand tool.
Step 3: Making your film
In order for this cat to become a stencil, it needs to be turned solid black so that when it is placed onto the screen, the ink can pass through it.
Because we are now working with just lines, it is really simple to change the color. In fact, you can do this by several different methods but for this project we’ll keep it simple and just change the levels.
In Photoshop, go to Layer-New Adjustment Layer-Levels. You will see a screen that looks like this:
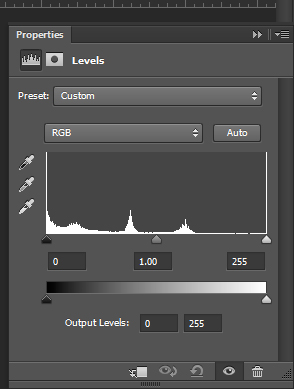
To turn this cat completely black, all we’re going to do is move the slider from white to black.
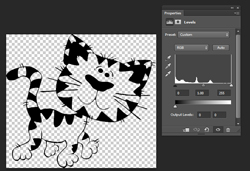
Your clip art is now ready to go to print! Even though we turned our cat black, the color of the imprint is actually decided by the color of ink placed onto the screen. So the final outcome could look something like this:
Categorised in: Blog
This post was written by TshirtByDesign Team